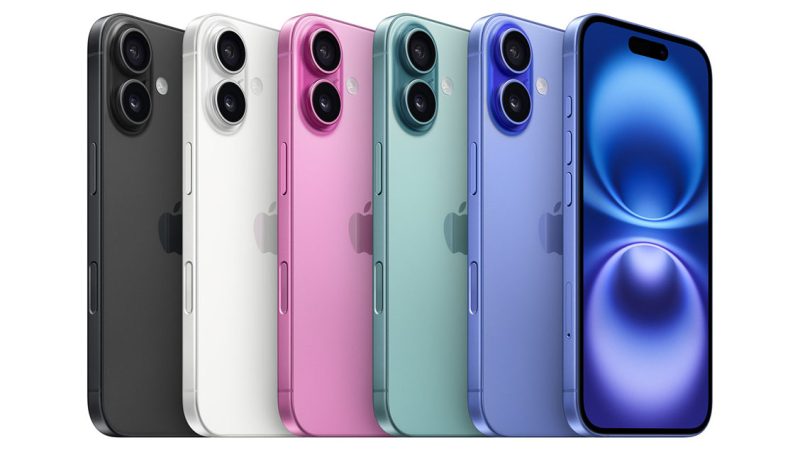
Setting Up Your New iPhone 14
Congratulations on your brand new iPhone 14! Whether you’re upgrading from a previous iPhone or switching from another device, setting up your new iPhone can be an exciting and straightforward process. In this comprehensive guide, we’ll walk you through the step-by-step instructions to set up your iPhone 14 and get it ready for use.
Before You Begin:
- Back Up Your Old iPhone: If you’re upgrading from a previous iPhone, it’s essential to back up your data to ensure a seamless transfer. Connect your old iPhone to a Wi-Fi network and create a backup using iCloud or iTunes.
- Charge Your iPhone: Before starting the setup process, make sure your iPhone 14 has sufficient battery power or connect it to a power source. This will prevent any interruptions during setup.
- Secure Your Apple ID: Ensure that you know your Apple ID and password as you’ll need them to sign in to your account during setup. If you don’t have an Apple ID, you can create one during the setup process.
Now that you’ve taken care of these preliminary steps, let’s dive into the setup process for your new iPhone 14.
Step 1: Power On Your iPhone 14
Press and hold the side button (power button) located on the right side of your iPhone 14 until the Apple logo appears on the screen. The initial setup screen will then appear.
Step 2: Select Your Language and Region
Choose your preferred language and select your region or country from the list provided. This selection helps customize your iPhone’s settings and available features based on your location.
Step 3: Connect to Wi-Fi
Connect your iPhone 14 to a Wi-Fi network. Tap on the name of the network you wish to join and enter the password if prompted. If you don’t have access to Wi-Fi, you can choose to set up your iPhone using a cellular data connection, although Wi-Fi is recommended for a faster and more reliable setup process.
Step 4: Set Up Face ID or Touch ID
Follow the on-screen instructions to set up Face ID (facial recognition) or Touch ID (fingerprint recognition) as your authentication method. These features provide enhanced security and convenience when unlocking your iPhone and accessing certain apps and features.
Step 5: Transfer Data from Your Previous iPhone or Android Device
If you’re upgrading from a previous iPhone, you can transfer your data directly to your new iPhone 14. Place your previous iPhone near your new iPhone and follow the on-screen instructions to initiate the Quick Start process. This will transfer your settings, apps, and data seamlessly. Make sure both devices are connected to Wi-Fi or have sufficient cellular data.
If you’re switching from an Android device, Apple provides the “Move to iOS” app to facilitate data transfer. Install the app on your Android device and follow the instructions to transfer your contacts, messages, photos, videos, and more to your new iPhone 14.
Step 6: Sign in with Your Apple ID
Sign in to your Apple ID using your existing account credentials or create a new Apple ID if you don’t have one. Your Apple ID gives you access to various services, such as the App Store, iCloud, Apple Music, and more. It also helps sync your data across multiple devices.
Step 7: Set Up Siri and Privacy Settings
Customize your Siri preferences, including the voice, language, and activation method. Additionally, review and adjust your privacy settings according to your preferences. You can choose to enable or disable features like Location Services, Analytics, and Personalized Ads.
Step 8: Set Up Apple Pay (Optional)
If you want to use Apple Pay, Apple’s contactless payment service, you can set it up during the initial setup process. Follow the instructions to add your credit or debit cards to Apple Wallet.
Step 9: Choose Display and Text Size
Select your preferred display and text size options to ensure optimal visibility and readability on your iPhone 14. You can adjust these settings later in the Accessibility section of the Settings app.
Step 10: Set Up Screen Time and App Limits (Optional)
Screen Time allows you to monitor and manage your device usage, set app limits, and establish healthier digital habits. You can choose to set up Screen Time during the initial setup or skip this step and configure it later in the Settings app.
Step 11: Customize Your Home Screen
With the introduction of iOS 15, Apple now provides various home screen customization options. Personalize your home screen layout, add widgets, and organize your apps according to your preferences. Long-press on the screen to enter the editing mode and explore the available customization options.
Step 12: Install Apps and Restore Data
Now that your iPhone 14 is set up, you can proceed to install your favorite apps from the App Store. Open the App Store app, search for the apps you want, and download them. If you backed up your previous iPhone, you can restore your apps, settings, and data from the backup during the setup process or later in the Settings app.
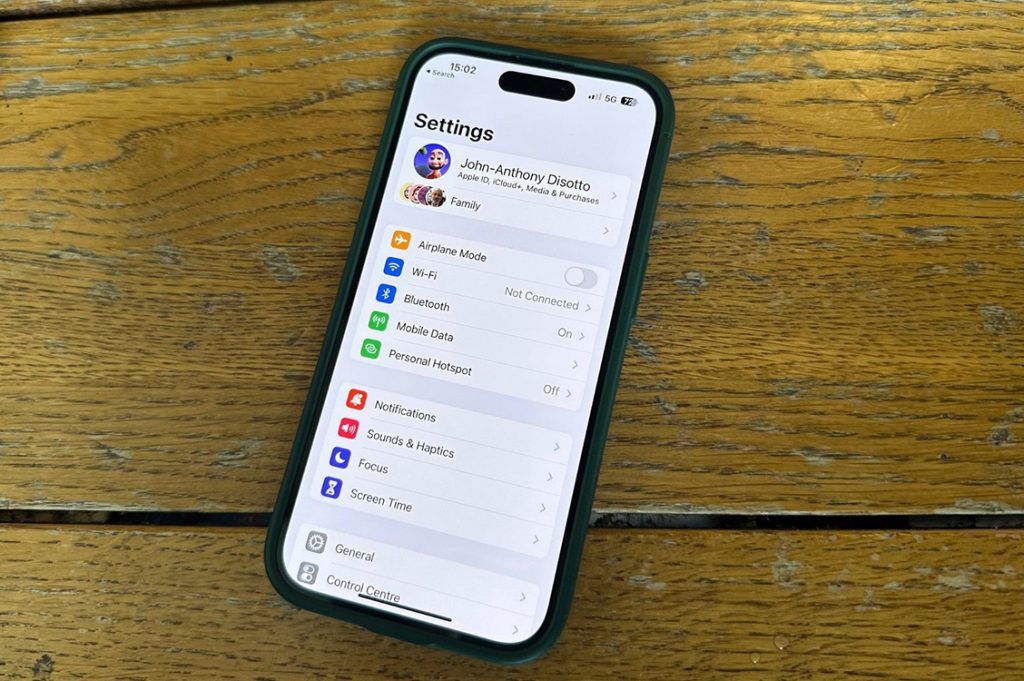
Step 13: Explore and Enjoy Your New iPhone 14
Congratulations! Your iPhone 14 is now set up and ready to use. Take some time to explore the features and capabilities of your new device. Set up your email accounts, customize your notification settings, and personalize your device further by exploring the Settings app.
Setting up your new iPhone 14 is an exciting process that ensures you’re ready to make the most of your device’s capabilities. By following these step-by-step instructions, you can easily and efficiently set up your iPhone 14, transfer your data, and personalize your settings to create a seamless user experience. Enjoy your new iPhone 14 and all the amazing features it has to offer!